
Hey TFarmers and TFolders of the New Internet,
While we get ready for the Internet of internets, let’s talk IP addresses.
In your farming adventure on the TF Portal, you will have to deal with public IP addresses. Let’s cover the basics here. Please share your thoughts and feedback if we are missing something, or if you want to add something to the discussion!
IP Addresses on the Threefold Grid
- 1. IP Address: Creating a Twin on the TF Portal
- 2. IP Address: Setting Public IP Addresses for TF Network
- 3. IP Address: Setting the Remote Management of a Server
1. IP Address: Creating a Twin on the TF Portal
Note: It is necessary to create a TF farm on the TF Portal.
When you set up your Twin from the TF Portal on the polkadot.js extension, you will be asked to set the Twin IP address.
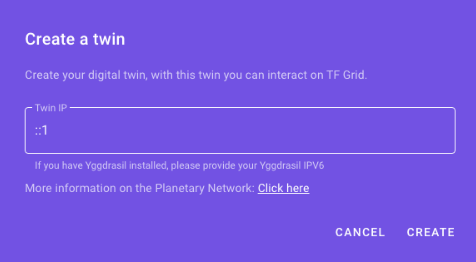
In this case, you want to create a Twin and let the standard IP address already written, as shown in the picture above:
::1
Note that this is a IPv6 address as the twin is using the Planetary Network.
2. IP Address: Setting Public IP Addresses for TF Network
Note: Assuming you are a farmer operating from your home, this field can usually be left blank. You do not have to fill in any details. The add IP option is for farmers that have a block of IP addresses routed to their router (in data centers mostly) and want to present “dedicated IP” addresses for deployments.
The add IP option is for farmers that have a block of IP addresses routed to their router. This is mainly for data centers, but some ISP can provide this for residential location. With such public IP addresses, your TF farm and/or your 3nodes can present “dedicated IP” addresses for deployments.
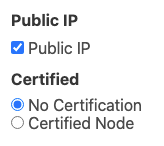
The Threefold simulator is referring to this IP address. Only check the Public IP option in the simulator if you have such block of IP addresses.
How to configure public IP addresses for a Threefold farm or a 3node
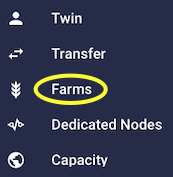
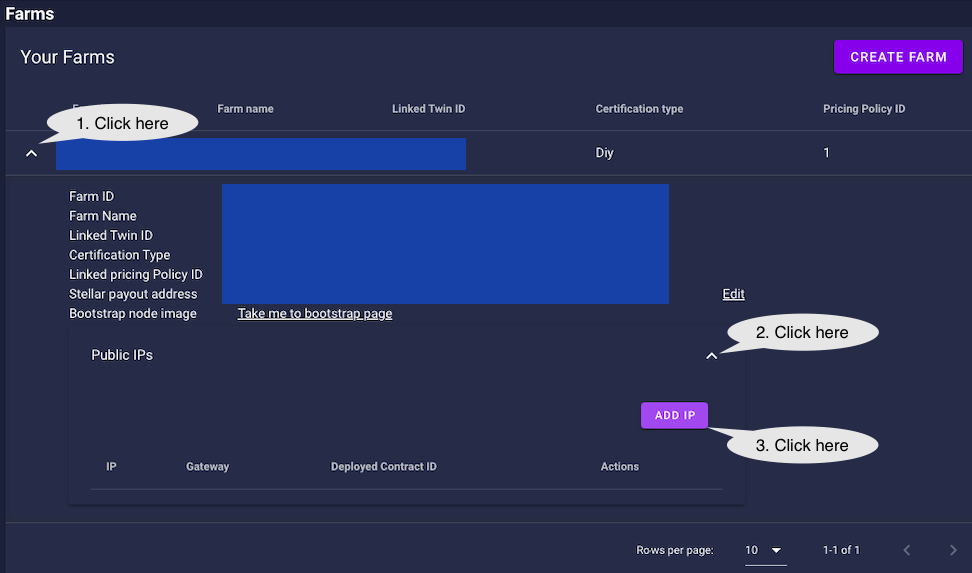
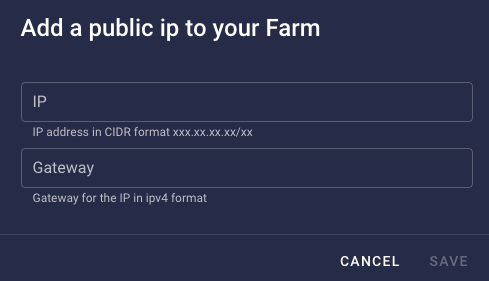
To configure public IP addresses for your 3node farm, head to the Farm section of the Threefold Portal, expand your farm by clicking on the arrow on the left, then click on Public IPs and then click on Add IP . Specify the IP address using CIDR format and then add the gateway.
The same process can be done for individual 3nodes. This is available in the Nodes section, just below the Farms section of the Farms page.
To configure public IP addresses to a specific 3node, click on the Actions Add a public config (Earth button) and fill in the necessary information.

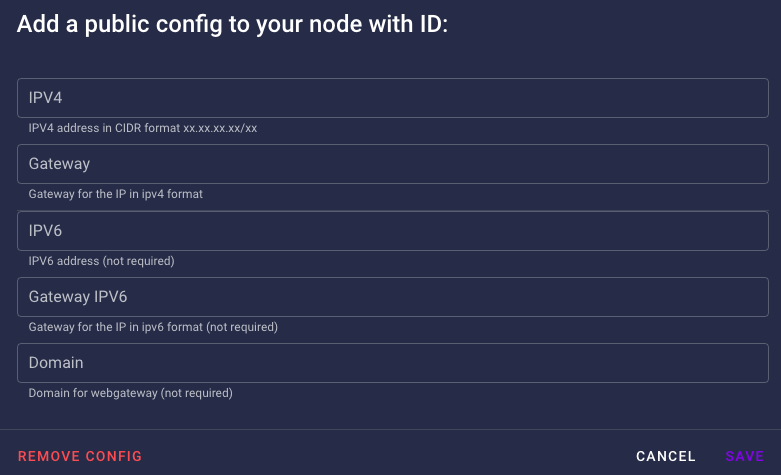
As it is written, only the IPV4 address and gateway are necessary. IPV6 and the Domain are optional.
The difference between IPs assigned to nodes versus a farm
IPs assigned to a farm are available to be rented by workloads. They can be assigned to virtual machines for example. IPs assigned to nodes enable each node to become a gateway.
3. IP Address: Setting the Remote Management of a Server
Note: You do not need any specific port configuration when booting a 3node.
As long as the 3node is connected to the Internet via an ethernet cable (WiFi is not supported), Zero-OS will be able to boot. By setting DHCP in BIOS, an IP address is automatically assigned to your 3node every time you boot it.
You can set up a node through static routing at the router without DHCP by assigning the MAC address of the NIC to a IP address within your private subnet. This will give a static IP address to your 3node.
With a static IP address, you can then configure remote management on servers. For Dell, iDRAC is used, and for HP, ILO is used.