
Dear Friends,
This post is intended for friends at Harmony  . Both ThreeFold and Harmony share common values and there is an enormous potential that can be exploited together, especially when it comes to leveraging ThreeFold’s peer to peer cloud network .
We will quickly demonstrate how to setup a Harmony node on the ThreeFold Grid . The purpose here is to get people started. The configuration can be tweaked to perfection with other experts in the community.
Most of the deployments have a common pattern and just require a change in the underlying flist and inputs. The rest of the process for all deployments is more or less the same.
What we will do ?
- Setup your 3bot and install the 3sdk
- Log in and create your Network
- Get your wallet loaded , don’t worry, we have FreeTFTs
- Deploy your Harmony container
- Access your Harmony container
- Verify your Harmony deployment
Before you start, we have 2 networks publicly available
- Mainnet @ https://explorer.grid.tf
- Testnet @ https://explorer.testnet.grid.tf
Our Recommendation : *Start deploying on testnet as ThreeFold gives free nodes to deploy and play around with. Mainnet is production and paid for. Therefore, from settings in the 3sdk menu, switch to TESTNET *
Step 1 - Setup the 3sdk
The 3sdk is a tool that allows you to setup your 3bot and give you access to the ThreeFold Grid for your deployments (containers, virtual machines, S3 storage and so on). The wiki provides detailed instructions on how to set up the 3sdk .
If this part is done, rest should be extremely easy as management is done via web interface.
To access the 3sdk admin interface, in your browser use the following link,
http://YOUR_IP_HERE:7000 or https://YOUR_IP_HERE:4000
7000 is the http port and 4000 is the https port
If you installed locally on your machine, you can use http://localhost:7000
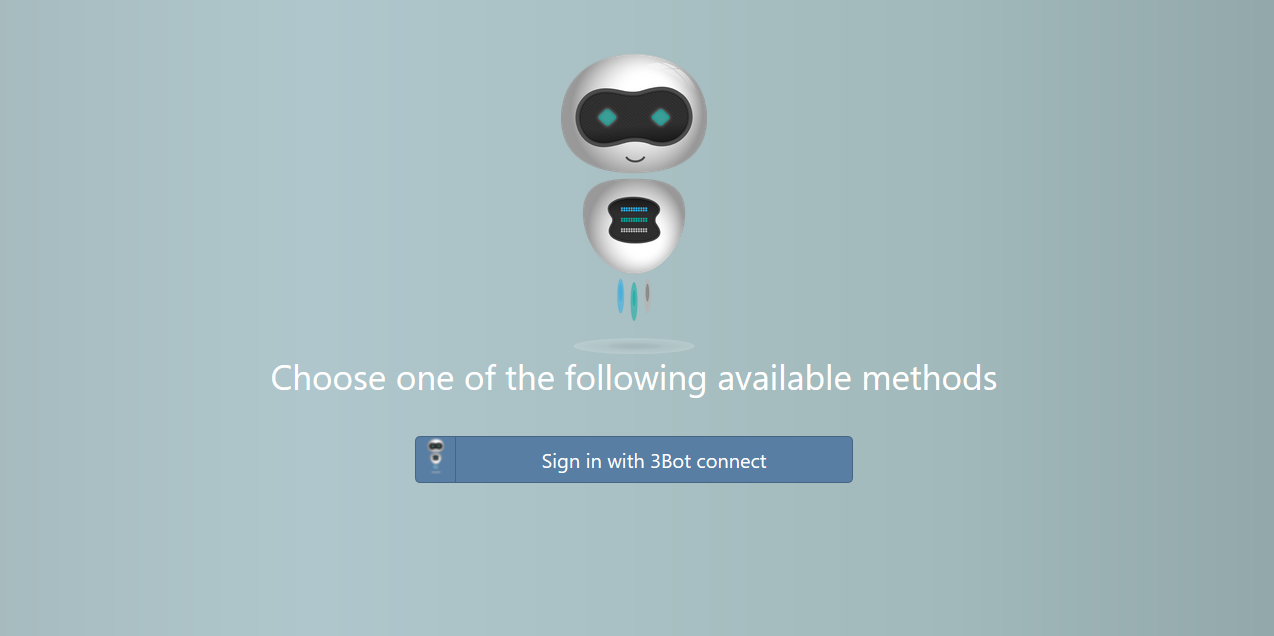
Step 2 - Log in and Create your Network for Deployment
From the previous step, http://YOUR_IP_HERE:7000
Log in here with your 3bot. Make sure you open the 3bot connect app first!
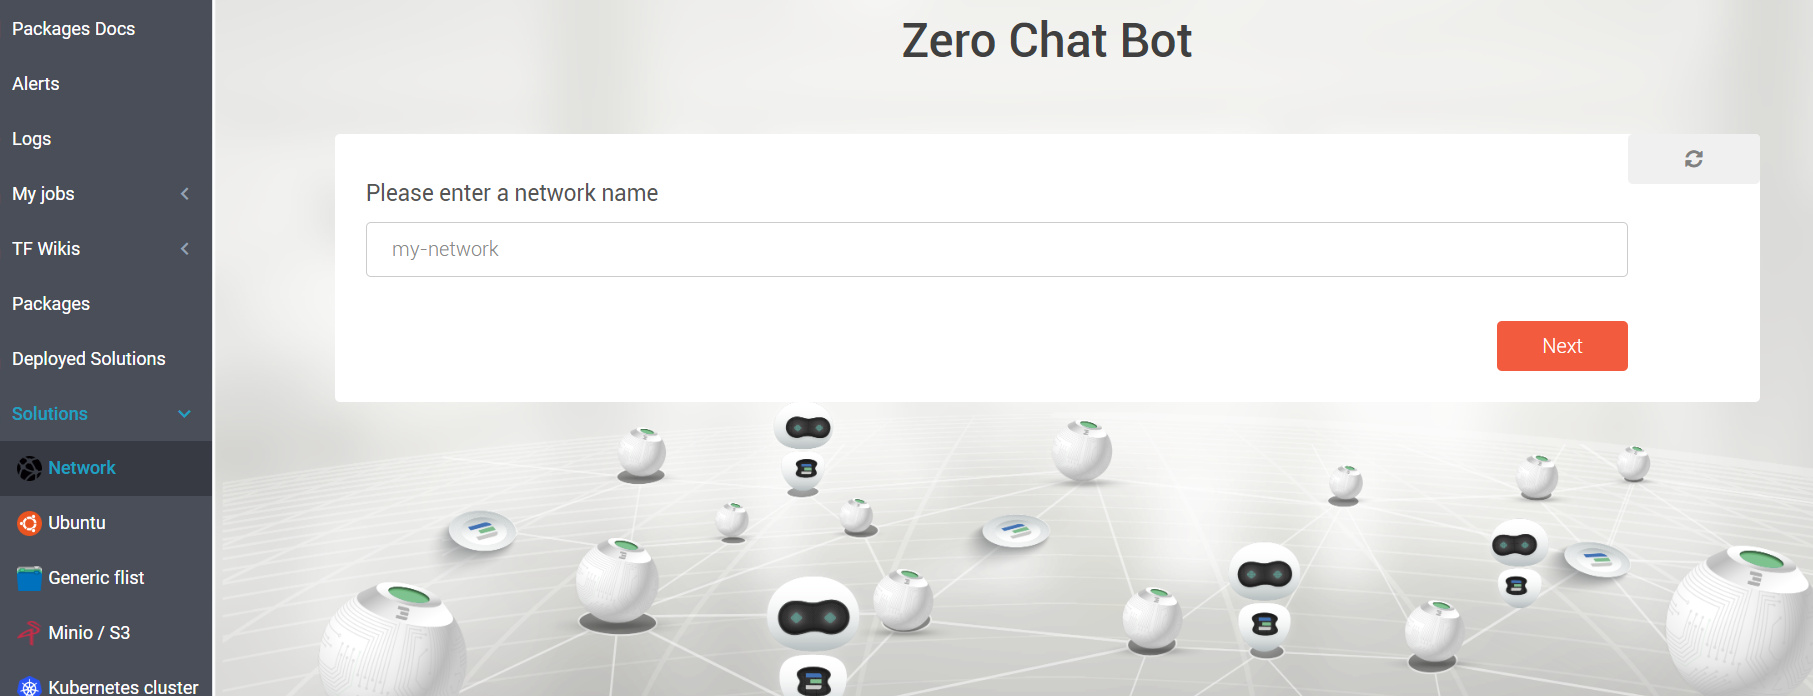
Once you log in, Go to Solutions and then go to Network . The interface is user-friendly and it should be easy. Few things to note,
- Use IPv4 network unless you are sure you have IPv6. You can test IPv6 connectivity here
- It is better to have the chat bot configure the network for you unless you have specific requirements
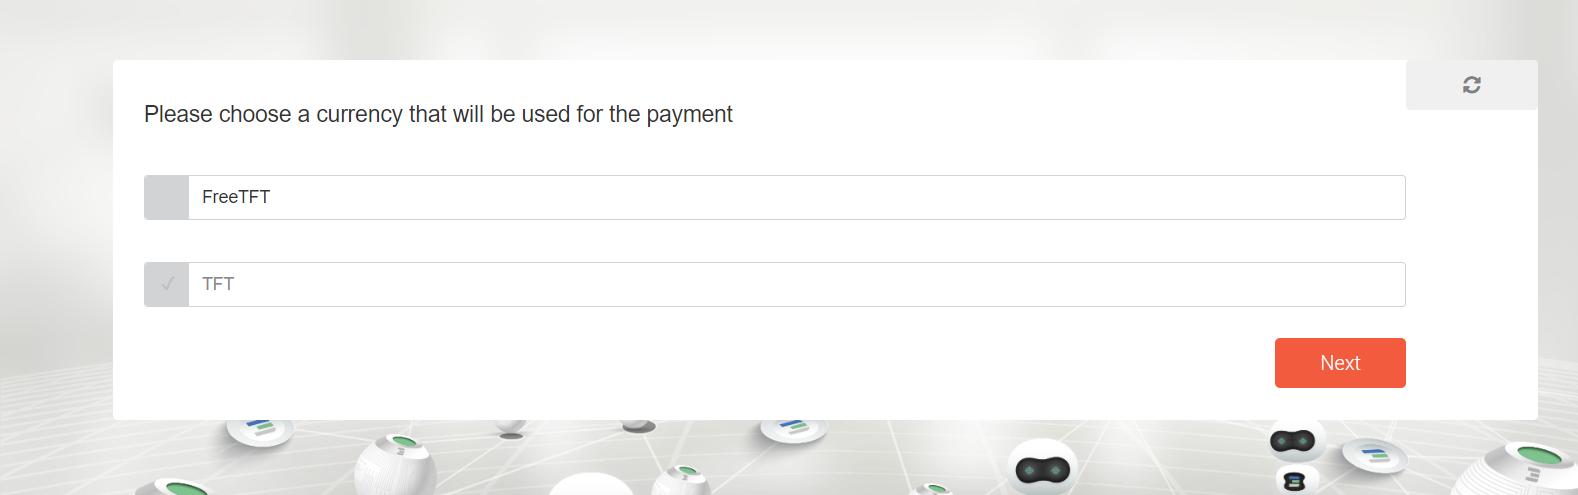
- Ideally start with FreeTFT as your network currency
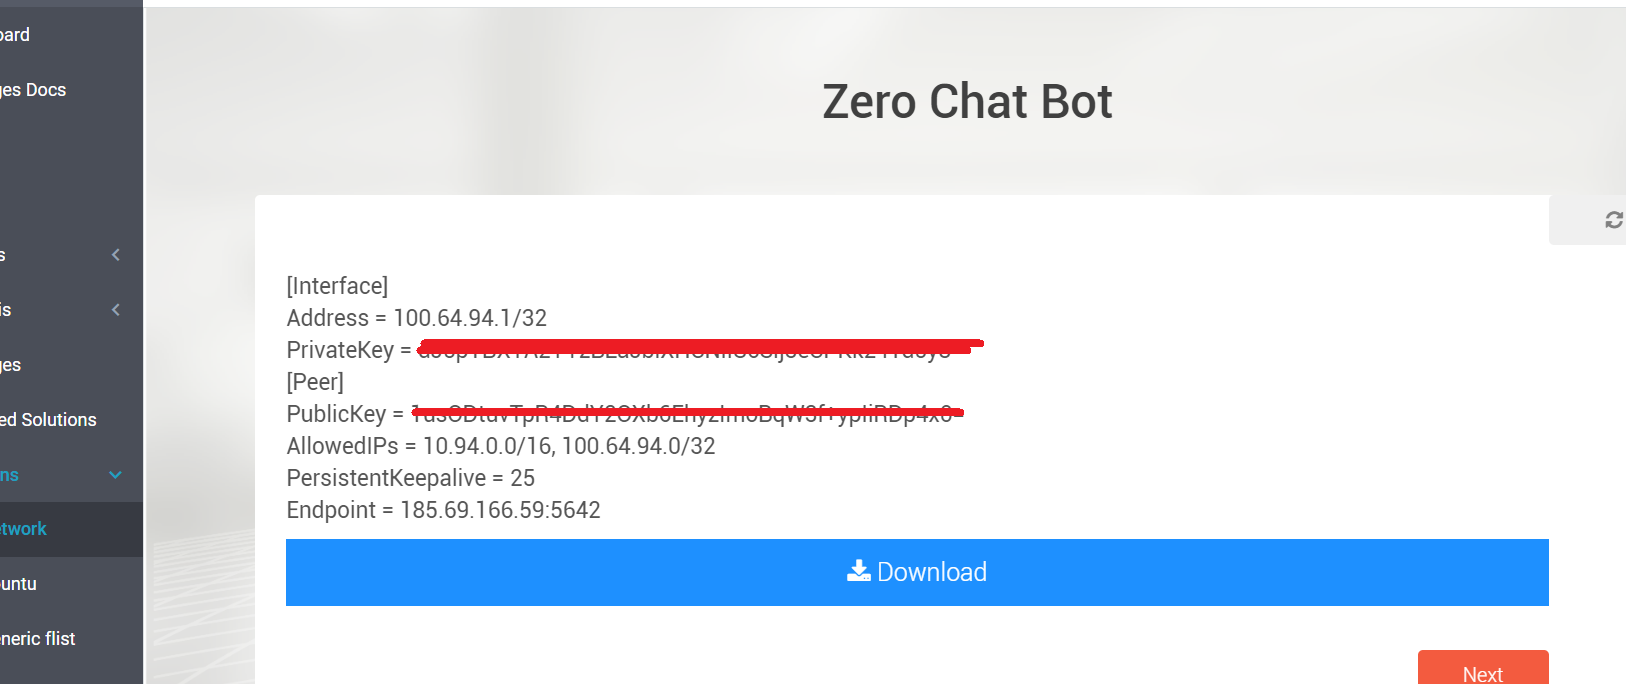
Note : The wizard will ask you to download your Wireguard configuration. This is important as you won’t be able to access your network without it. This serves as an entry point to your private network.
Step 3 : Get your wallet loaded - Get some FreeTFTs
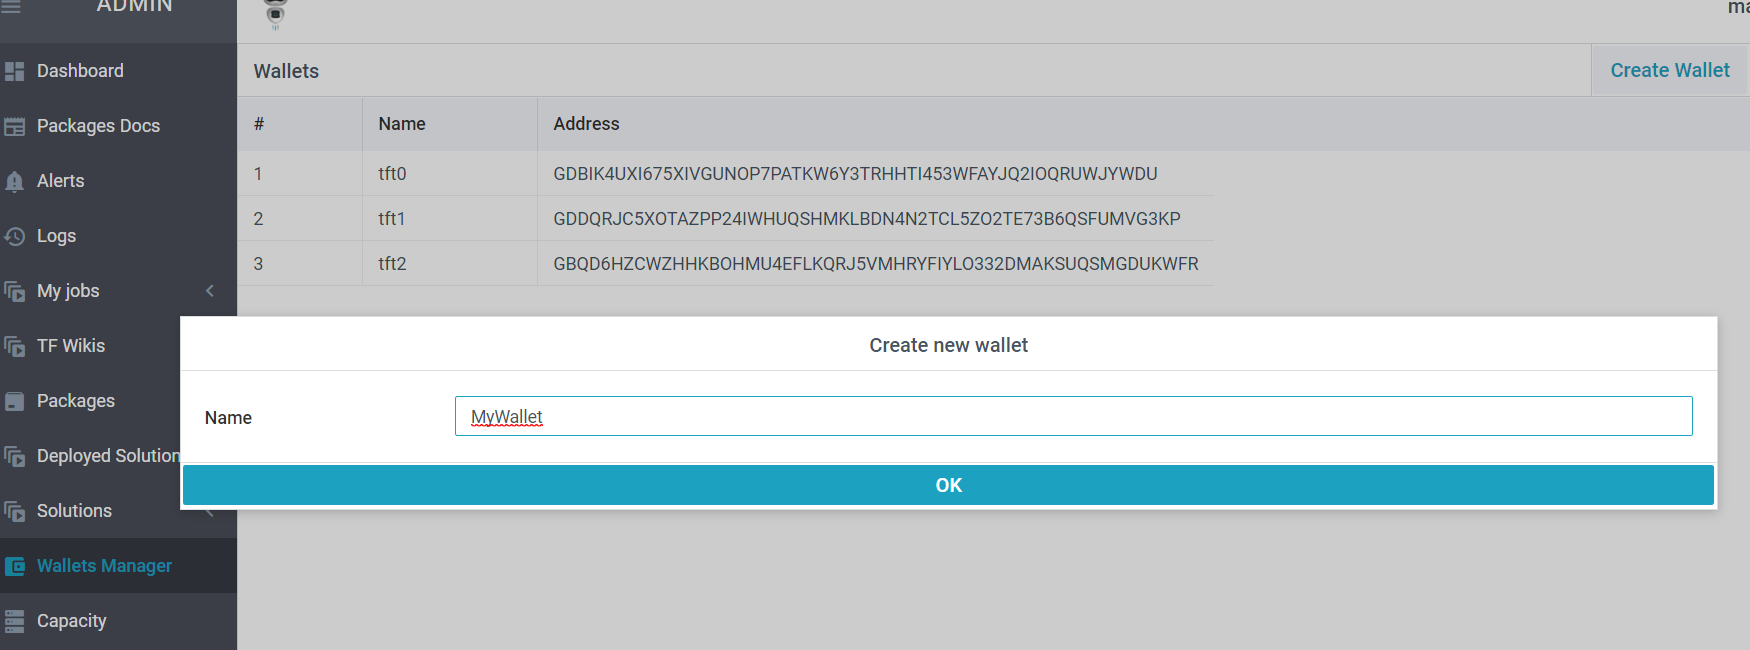
First things first, create a wallet from the Wallet Manager. It is pretty easy actually,
The next step is to get your wallet funded, there are 2 ways,
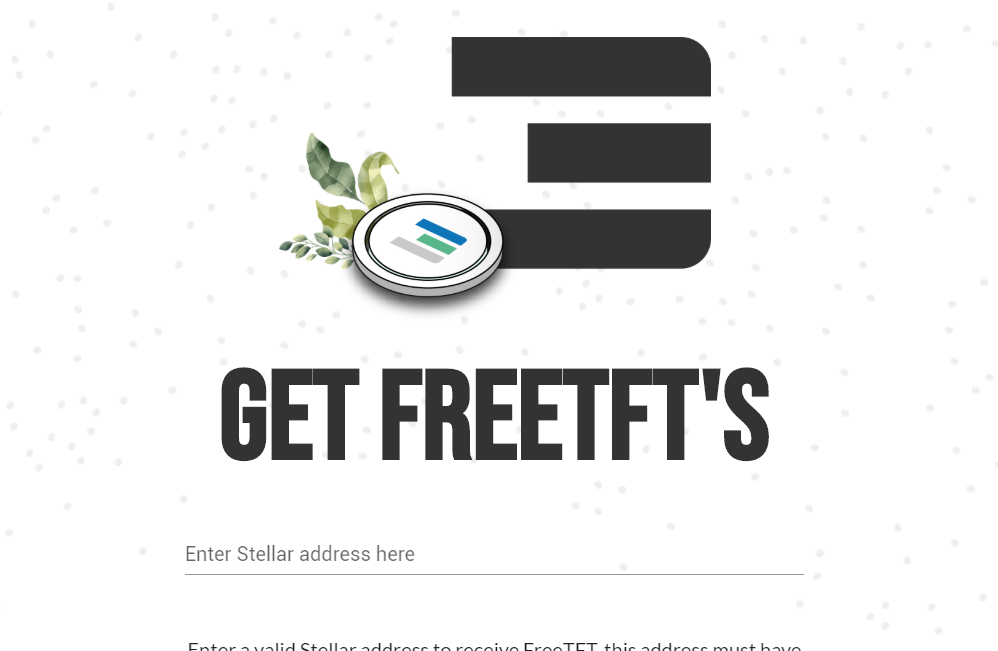
To get FreeTFTs for testnet, use this link => https://getfreetft.testnet.threefold.io
Login with your 3botID which you created in the 1st step and provide the wallet address. You get 1000 FreeTFTs per wallet. This should be adequate ! The stellar address is the simply the wallet address. Our transaction layer is on stellar.
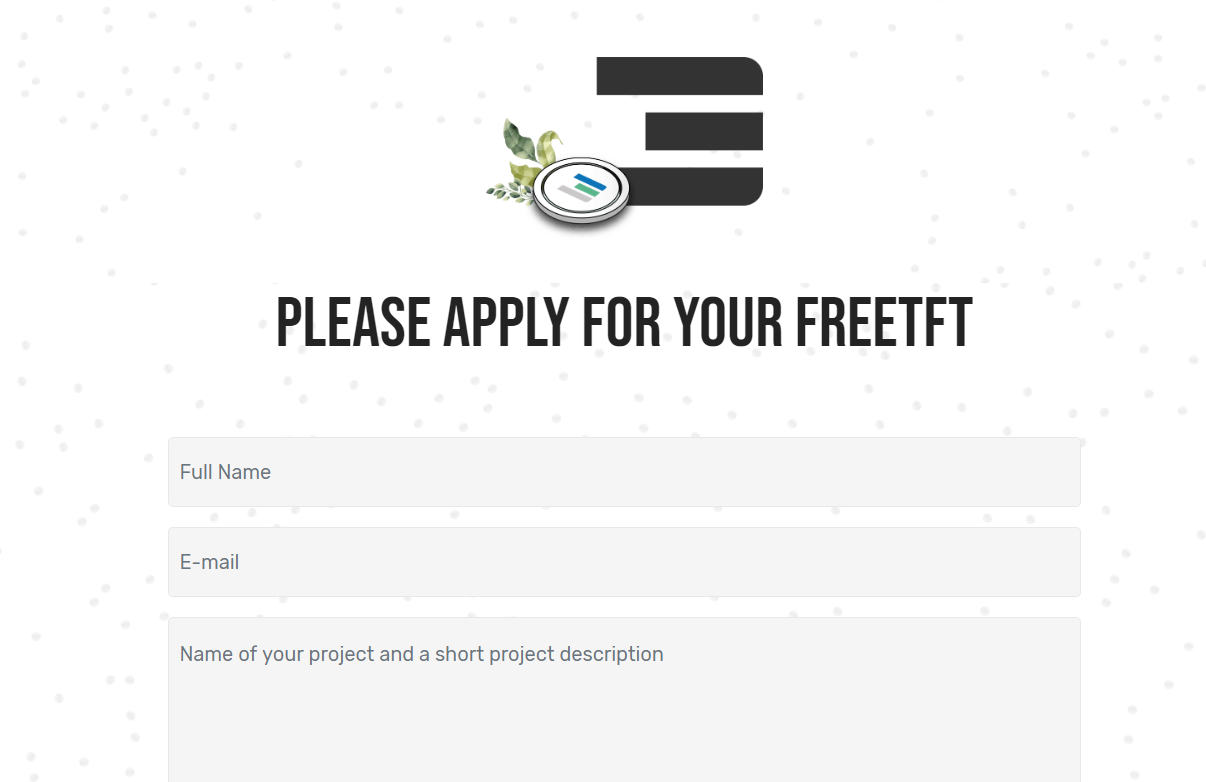
To get FreeTFTs for Mainnet, use this request form => https://www.getfreetft.threefold.io
Step 4 - Create your Harmony Container - Time to Rock’n Roll
Under Solutions , go to Generic flists , the wizard will guide you accordingly.
- Select the network name which you created . Your container is going to be deployed in this network.
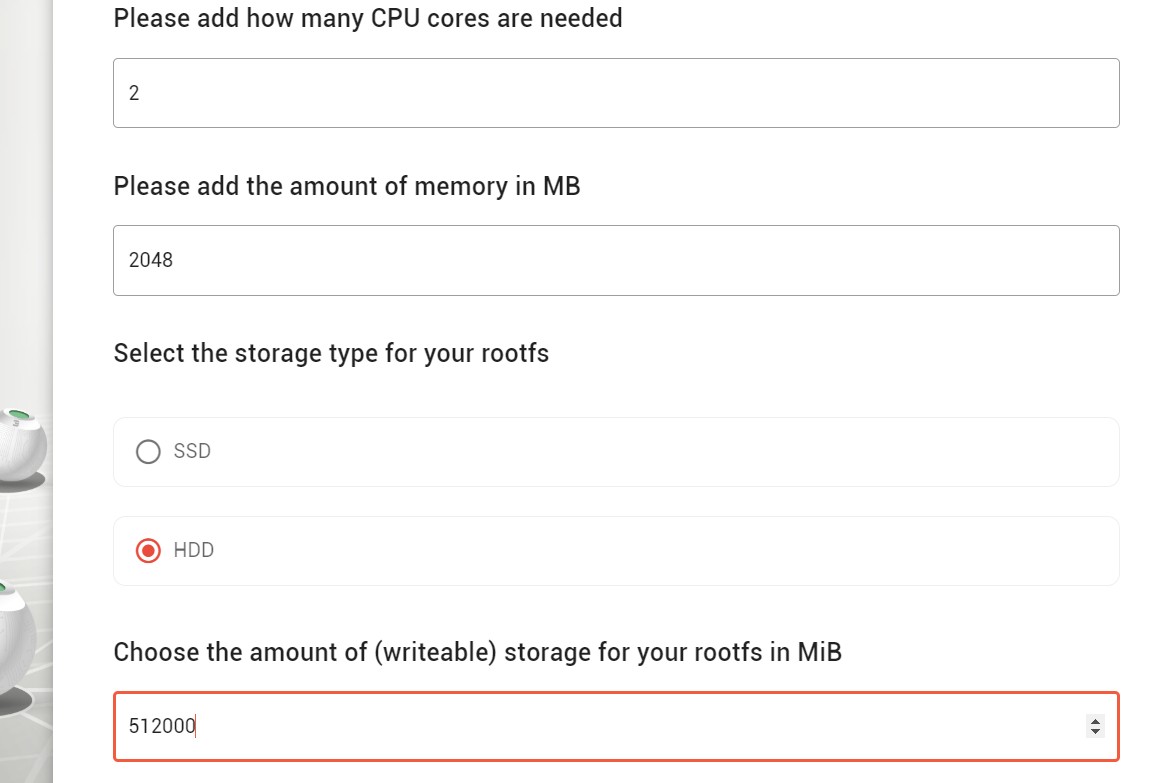
- Enter the container name, size in terms of CPU and memory . Ideally start with 2 CPUs and 2048 MB memory. You can specify the size of the boot disk / rootfs to whatever appropriate. We recommend 100 GB for Harmony.
- The flist link you have to use is => https://hub.grid.tf/arehman/v2-harmony-1-1.flist
- Would you like access to your container through the web browser (coreX)? Select NO . You may want to use this for troubleshooting.
- Set the IP address from the drop down list you want to assign to your container.
- The container entry_point should be set to
/start_hmy.sh. - Under environment variables , use pub_key=your_public_key_here . Specify an ed25519 SSH public key.
Environment Variables and BLS Key generation
Harmony nodes bind to bls keys that serve as node’s identity. Every instance starts with a newly generated BLS key with the password provided by you as an environment variable.
* pub_key - This is your SSH public key (ed25519)
* network - default (mainnet) , else you can specify (mainnet, testnet, staking, partner, stress, devnet, tnet)
* blskeycount - Number of BLS keys you want to generate (1-4), Default is 1
* keypass - The bls key password to encrypt your BLS key (default : keypass = tfhmy2020)
* shard   - The shard associated and possible values (0,1,2,3), Default value is 0
Where are my BLS keys stored ?
The BLS key and the password file could be found here,
/opt/keys
Data Persistence - Where to mount host volume ?
By default, this flist uses the /opt directory and all data for harmony is within it.
NOTE : How do I create my own Harmony flist ? See this link
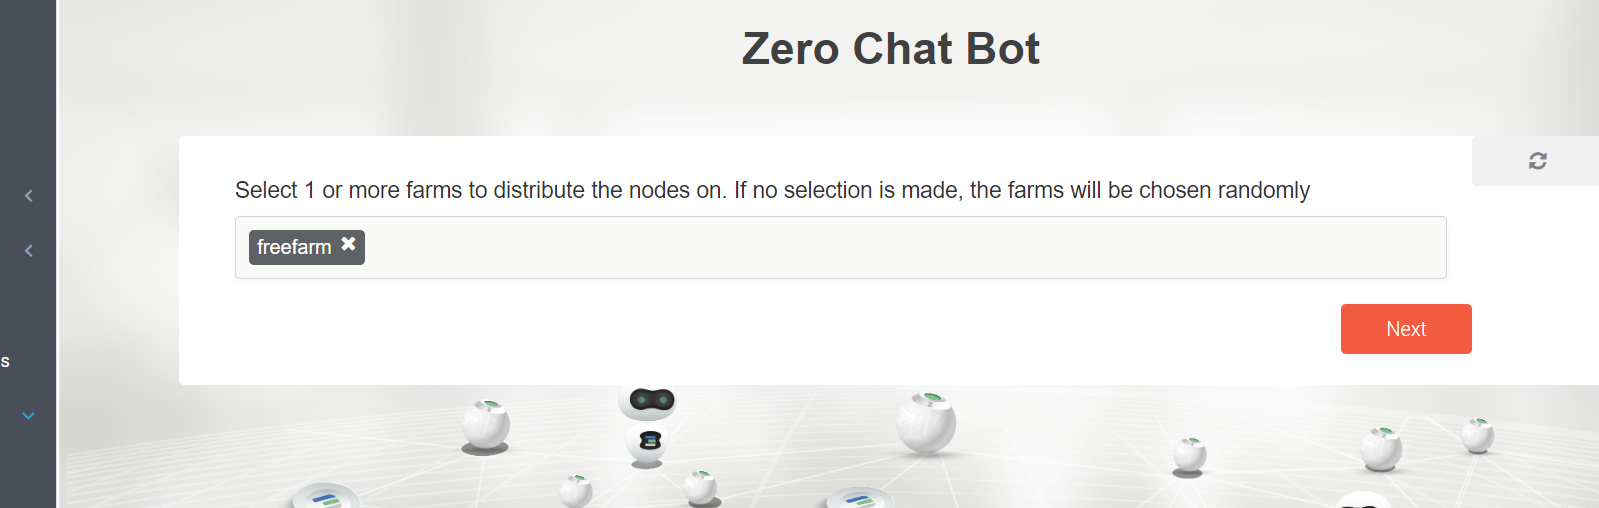
Now you get a list of farms to deploy on, let the freefarm be there
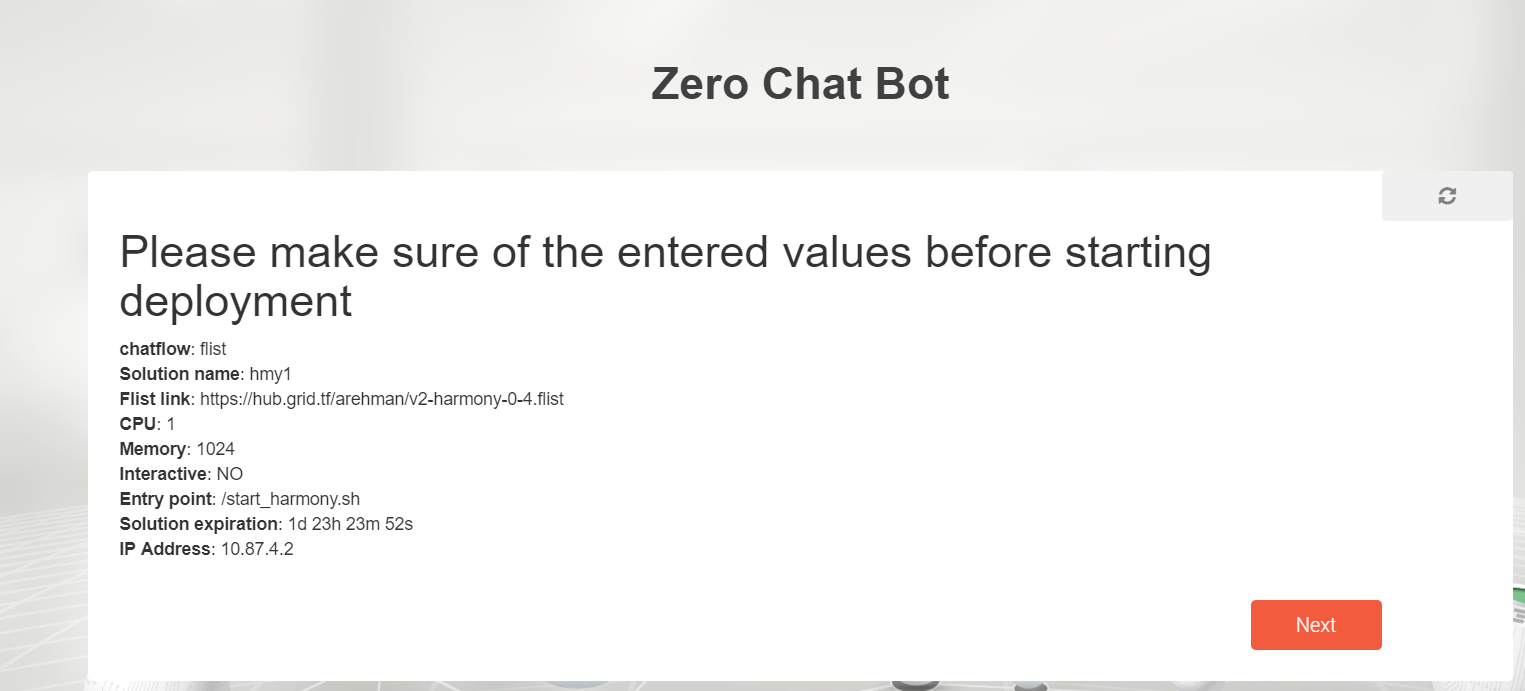
If all goes well, the wizard will give you a final screen before proceeding with the deployment,
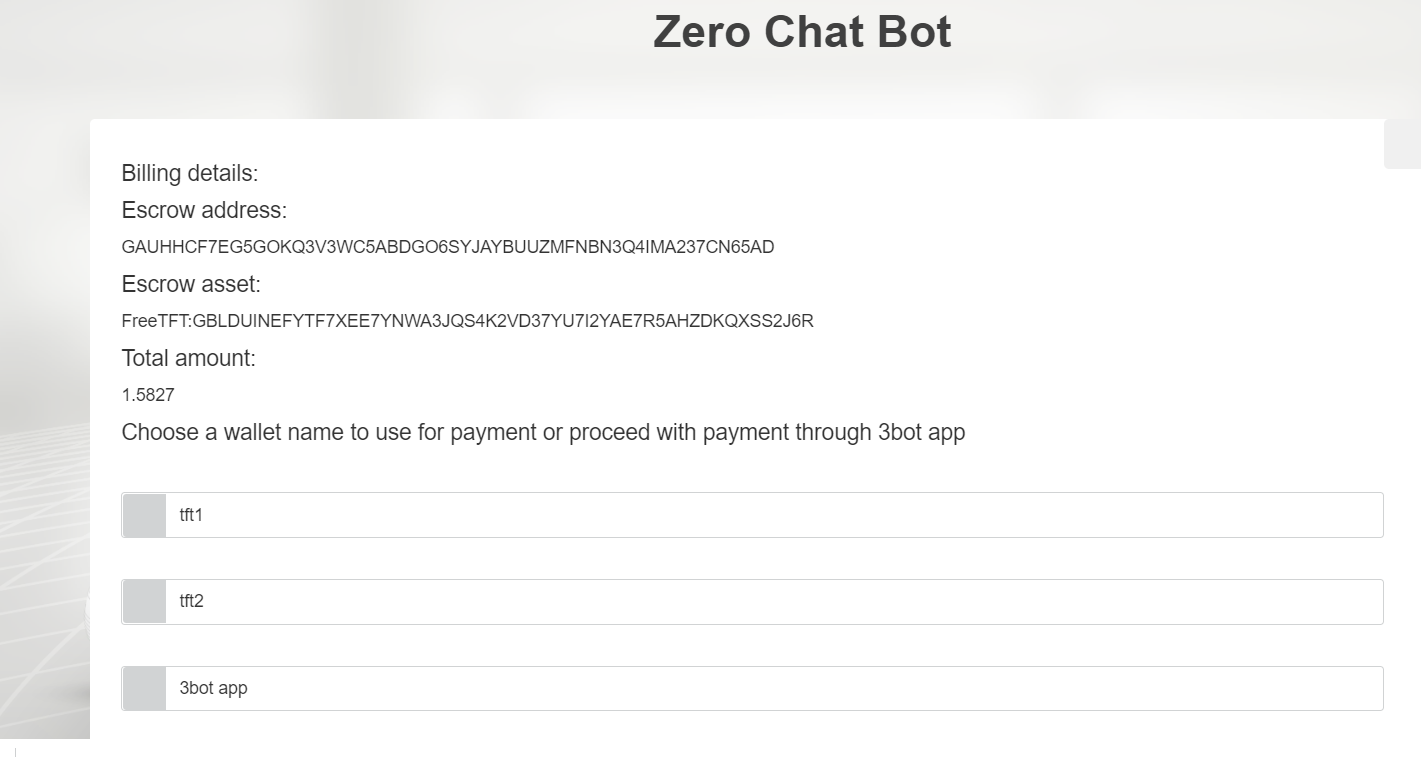
The last screen is the payment screen which can be done with “FreeTFTs” in your wallet. Payment can be either via the 3bot App or the wallet you created. Just choose the wallet you funded in Step 3
That should be it ! You will be given a reservation ID of your deployment that you can use for future references.
Step 5 - Access your Harmony Container
To access the container,
For Linux , wg-quick up path_to_wireguard_conf_file. For example, wg-quick up /my-wg/net-1.conf
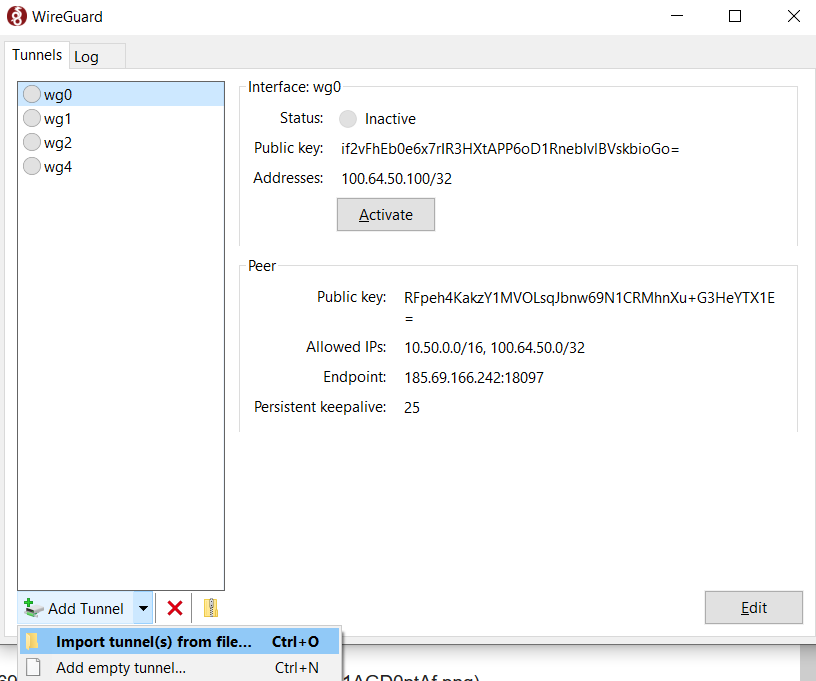
For windows , Import the downloaded wireguard configuration from Step 2,
Once the wireguard tunnel is up, you can test connectivity by doing a ping test for your container IP address. Access the container with ssh using your private key.
ssh -i path_to_your_privatekey root@container_ip_address, For example ssh -i /opt/mysshkey root@172.20.10.5
The SSH public key should be provisioned during the container deployment.
Step 6 - Verify your Harmony Node Deployment
From the left side navigation panel, go to Deployed Solutions . You should see the name of your container
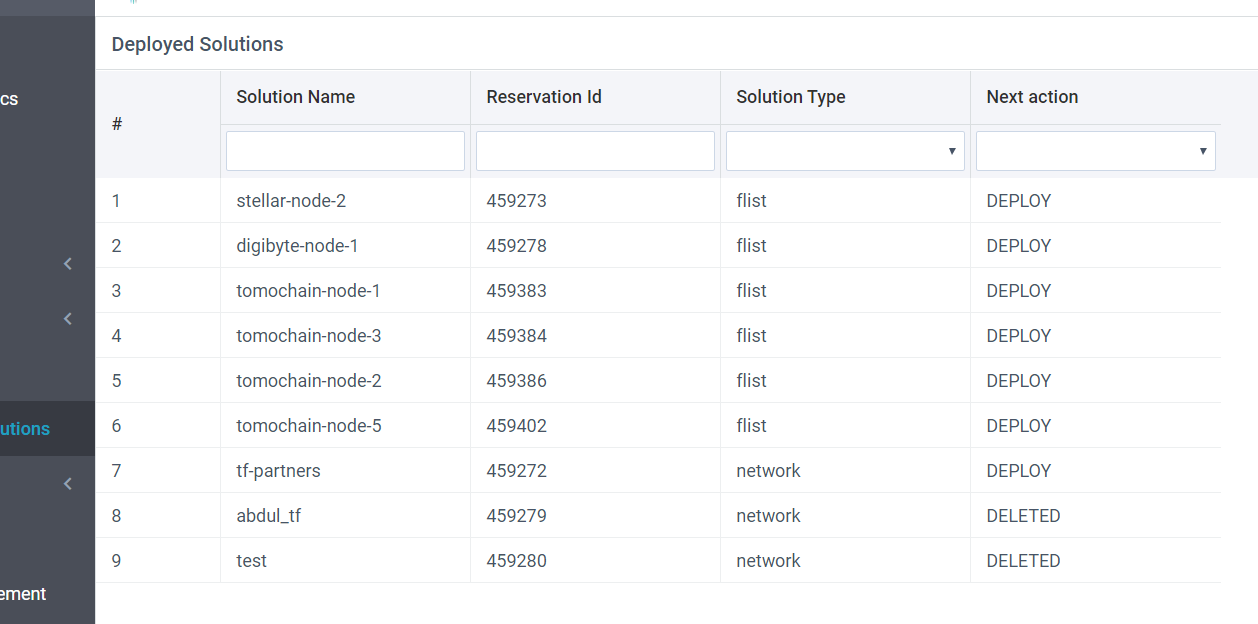
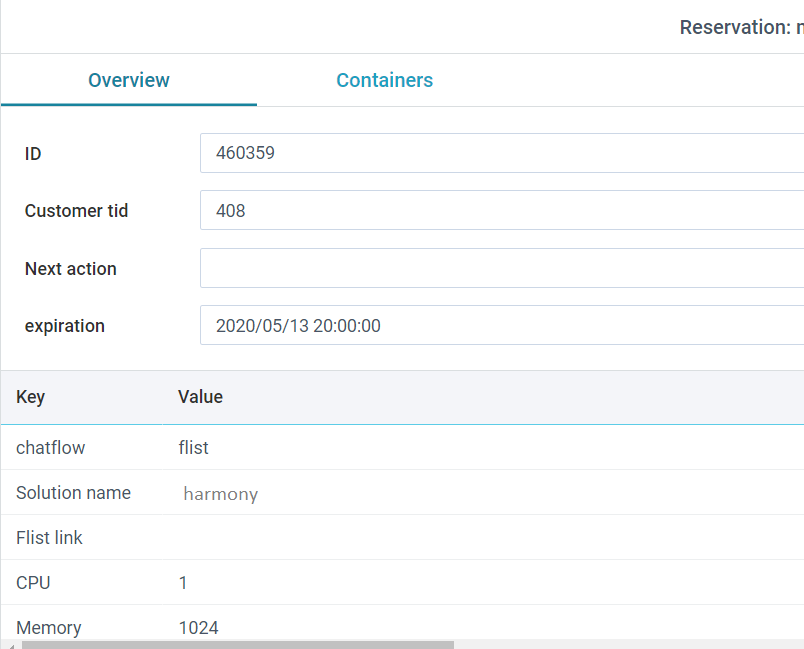
You can click the container name here to see details, Here is a view of it,
Inside the container, do a ps aux , you should see the the harmony node scripts running,
:~# ps aux
USER       PID %CPU %MEM    VSZ   RSS TTY      STAT START   TIME COMMAND
root         1  0.0  0.0  72296   744 ?        Ss   May15   0:00 /usr/sbin/sshd -D
root        15  0.0  0.0 108112  1044 ?        Rs   May15   0:00 sshd: root@pts/0
root        30  0.0  0.0  20372   892 pts/0    Ss   May15   0:00 -bash
root        76  0.0  0.0  28792  2372 ?        Ss   May15   0:18 tmux new -s node
root        77  0.0  0.0  20252   456 pts/1    Ss   May15   0:00 -bash
root        83  0.0  0.0  11928   572 pts/1    S+   May15   0:00 bash ./node.sh -S -z -I -N staking -k 05fd122fed573a7aa8ef7e264fa9092fc6c1017895532ff177f7d33a4aaac52604d24d7e2e70aec35f4213
root       119  0.0  0.0  11928  1256 pts/1    S+   May15   0:03 bash ./node.sh -S -z -I -N staking -k 05fd122fed573a7aa8ef7e264fa9092fc6c1017895532ff177f7d33a4aaac52604d24d7e2e70aec35f4213
root       122  0.0  0.0  11928   568 pts/1    S+   May15   0:00 bash ./node.sh -S -z -I -N staking -k 05fd122fed573a7aa8ef7e264fa9092fc6c1017895532ff177f7d33a4aaac52604d24d7e2e70aec35f4213
root       126 11.6  0.4 10316104 632668 pts/1 Sl+  May15 454:29 ./harmony -bootnodes /ip4/54.86.126.90/tcp/9867/p2p/Qmdfjtk6hPoyrH1zVD9PEH4zfWLo38dP2mDvvKXfh3tnEv,/ip4/52.40.84.2/tcp/9867/
The node data directory is by default /opt. It can be changed using the node.sh wrapper script. In this case, it is root,
~# tree -hs
.
├── [ 184]  05fd122fed573a7aa8ef7e264fa9092fc6c1017895532ff177f7d33a4aaac52604d24d7e2e70aec35f42135573da3194.key
├── [ 23M]  bootnode
├── [ 38M]  harmony
├── [ 247]  harmony-checksums.txt
├── [761K]  harmony-update.out
├── [ 258]  harmony_db_0
│   ├── [2.1M]  000031.ldb
│   ├── [2.0M]  000032.ldb
│   ├── [2.1M]  000033.ldb
│   ├── [2.0M]  000034.ldb
│   ├── [2.0M]  000035.ldb
│   ├── [1.3M]  000036.ldb
│   ├── [1.9M]  000038.ldb
│   ├── [1.9M]  000040.ldb
│   ├── [840K]  000041.log
│   ├── [1.9M]  000042.ldb
│   ├── [  16]  CURRENT
│   ├── [   0]  LOCK
│   ├── [7.9K]  LOG
│   └── [2.9K]  MANIFEST-000000
├── [ 799]  harmony_pubkey.pem
├── [ 20M]  hmy
├── [ 466]  latest
│   ├── [6.1M]  zerolog-validator-86.98.9.190-9000-2020-05-15T20-51-44.445.log.gz
│   ├── [6.7M]  zerolog-validator-86.98.9.190-9000-2020-05-16T00-28-46.014.log.gz
│   ├── [4.1M]  zerolog-validator-86.98.9.190-9000-2020-05-19T09-03-31.364.log.gz
│   └── [ 19M]  zerolog-validator-86.98.9.190-9000.log
├── [ 127]  md5sum.txt
├── [  43]  md5sum.txt::bootnode
├── [  42]  md5sum.txt::harmony
├── [  42]  md5sum.txt::node.sh
├── [ 27K]  node.sh
├── [  36]  staging
│   └── [ 799]  harmony_pubkey.pem
└── [   0]  transactions.rlp

3 directories, 32 files
Also, if you want to start up the node with another bls key,
./node.sh -S -z -k [BLS KEY FILE].key

node.sh: ############### Running Harmony Process ###############
Staking mode; node key 05fd122fed573a7XXXXXXXXXXXXXX52604d24d7e2e70aec35f42135573da3194; -> shard 0
You can view realtime logs generated by,
tail -f zerolog-validator-86.98.9.190-9000.log

{"level":"info","port":"9000","ip":"86.98.9.190","index":19,"BLSPubKey":"03406acec541e0e0d7cbcb7c0502b4901d09b4f563fe0db4cf3e3d18038373f71eb3f720d9d9c66244364bfd7ef09217","caller":"/mnt/jenkins/workspace/harmony-release/harmony/consensus/consensus_service.go:101","time":"2020-05-15T20:51:44.445417074Z","message":"Member"}
{"level":"info","port":"9000","ip":"86.98.9.190","index":20,"BLSPubKey":"b54a2260f9b8c8903d39af9957685752a5bd4e48329f1a4b476dd871e99aa7e9c05682e44a3f739dbb1713bc824d3799","caller":"/mnt/jenkins/workspace/harmony-release/harmony/consensus/consensus_service.go:101","time":"2020-05-15T20:51:44.445433576Z","message":"Member"}
{"level":"info","port":"9000","ip":"86.98.9.190","index":21,"BLSPubKey":"0a21f76b002c3d2ebdf9e9a761c8a26774f306d2e0eed329cd9c814efe0cda9cbd10d9b5cf04f30bbf0030d359c5a705","caller":"/mnt/jenkins/workspace/harmony-release/harmony/consensus/consensus_service.go:101","time":"2020-05-15T20:51:44.445451282Z","message":"Member"}
{"level":"info","port":"9000","ip":"86.98.9.190","index":22,"BLSPubKey":"bf22387e4ce19adfdd8df61754022c14f4a31d690404ec2eef81740da2787628fce0d28165db021e00cee34058156002","caller":"/mnt/jenkins/workspace/harmony-release/harmony/consensus/consensus_service.go:101","time":"2020-05-15T20:51:44.445472765Z","message":"Member"}
{"level":"info","port":"9000","ip":"86.98.9.190","index":23,"BLSPubKey":"80f6efd3d3f539434a994727b4e35410e0e3666d3d865e431d5d03e18a67c5a0f02142e8a8a24257e3bdf318a1d4ff14","caller":"/mnt/jenkins/workspace/harmony-release/harmony/consensus/consensus_service.go:101","time":"2020-05-15T20:51:44.445490753Z","message":"Member"}
You can see what ports harmony is using by,
netstat -lntpe
Active Internet connections (only servers)
Proto Recv-Q Send-Q Local Address           Foreign Address         State       User       Inode      PID/Program name
tcp        0      0 127.0.0.1:9800          0.0.0.0:*               LISTEN      0          5293414    126/./harmony
tcp        0      0 0.0.0.0:9000            0.0.0.0:*               LISTEN      0          5273256    126/./harmony
tcp        0      0 0.0.0.0:6000            0.0.0.0:*               LISTEN      0          5293409    126/./harmony
tcp        0      0 0.0.0.0:22              0.0.0.0:*               LISTEN      0          5253763    1/sshd
tcp        0      0 0.0.0.0:14555           0.0.0.0:*               LISTEN      0          5286332    126/./harmony
tcp        0      0 127.0.0.1:9500          0.0.0.0:*               LISTEN      0          5293413    126/./harmony
tcp6       0      0 :::22                   :::*                    LISTEN      0          5253765    1/sshd
To check the latest headers, you can run the following command
# ./hmy blockchain latest-headers
{
  "id": "1",
  "jsonrpc": "2.0",
  "result": {
    "beacon-chain-header": {
      "block-header-hash": "0xccf0a14d919952a636d055bcf6e1a1f497a88a71baa757b2ecde68f65df199b9",
      "block-number": 7079,
      "epoch": 15,
      "shard-id": 0,
      "view-id": 7079
    },
    "shard-chain-header": {
      "block-header-hash": "0xccf0a14d919952a636d055bcf6e1a1f497a88a71baa757b2ecde68f65df199b9",
      "block-number": 7079,
      "epoch": 15,
      "shard-id": 0,
      "view-id": 7079
    }
  }
}
To check if the node is synced with the network, you can run the following command,
 curl https://monitor.hmny.io/status?network=mainnet | json_pp
  % Total    % Received % Xferd  Average Speed   Time    Time     Time  Current
                                 Dload  Upload   Total   Spent    Left  Speed
100  1101  100  1101    0     0    823      0  0:00:01  0:00:01 --:--:--   824
{
   "shard-status" : [
      {
         "current-epoch" : 191,
         "shard-id" : "1",
         "current-block-number" : 3403102,
         "block-timestamp" : "2020-05-27 17:44:43 +0000 UTC",
         "consensus-status" : true,
         "leader-address" : "one15f6xr2nrqvsy4rtuygumkjk3dmw2d6wxah9e9u"
      },
      {
         "current-block-number" : 3430075,
         "shard-id" : "3",
         "leader-address" : "one1g2s9echf2ak8zdnxjrarsq4z0cdqarsvx3lxs8",
         "block-timestamp" : "2020-05-27 17:44:38 +0000 UTC",
         "consensus-status" : true,
         "current-epoch" : 191
      },
      {
         "shard-id" : "0",
         "current-block-number" : 3468145,
         "consensus-status" : true,
         "block-timestamp" : "2020-05-27 17:44:36 +0000 UTC",
         "leader-address" : "one1uhwfm0gtjv33uhgtlxvxd9rrl6vs5us3e5p0zf",
         "current-epoch" : 191
      },
      {
         "current-epoch" : 191,
         "shard-id" : "2",
         "current-block-number" : 3443030,
         "consensus-status" : true,
         "block-timestamp" : "2020-05-27 17:44:41 +0000 UTC",
         "leader-address" : "one1y3rjsc26kn2f6n8mrupw8gxx90ftzpyxgq4j9m"
      }
   ],
   "validators" : 49,
   "used-seats" : 320,
   "avail-seats" : 320,
   "commit-version" : [
      "Harmony (C) 2020. harmony, version v5977-v2.1.1-0-g2f8b53b0 (jenkins@ 2020-05-25T19:26:49+0000)",
      "Harmony (C) 2020. harmony, version v5980-v2.1.1-3-gdfd5d3bd (jenkins@ 2020-05-27T06:36:32+0000)"
   ]
}
That should be pretty much ! . We have a Harmony node running. Once the node syncs, you can update keys / wallets as per your requirements. This should get you started !
NOTE : In case you don’t see the harmony process running, you can manually execute /start_hmy.sh , you can generate your own bls keys.
You can modify the startup scripts as well as per your requirements. Even better, create your own flists and try to launch the nodes.
Sources
https://docs.harmony.one/home/validators/first-time-setup/running-a-node

 Specify an ed25519 SSH public key. Do not use RSA key, container will deploy, but you wont be able to access